

A brand-new car’s primary appeal is often due to the most durable parts. These are often high-contrast pieces like the headlights or external sun-exposed metal. Sound is a critical sense that’s often forgotten in this context. It’s due to the isolation and elimination of outside noises. The grommets and seals that filter out undesirable car noises get less durable and worn over time. This can lead to more road noise, increasing the longer your vehicle is owned. Sound-deadening material, if applied correctly, can make your car feel new again. Dynamat was my sales pitch. It is the ultimate in vehicle acoustics. This article will cover all you need to know about sound deadening your car. It will be focusing on my Audi A7 B7. Sound deadening has three primary purposes. It stops outside sounds from entering your vehicle, preventing inside sounds from escaping and reducing vibration inside out. Unfortunately, sound-deadening materials can add weight. For example, fifteen pounds for the doors. This is not the right product for you if you are the type that rips apart spare tires, back seats, and door cards to race week. You can read on for casual racers who don’t care much about the quarter-mile time because the finish line is the grocery shop.
Which brand is the most sound-deafening?
Choosing a product becomes a matter of cost, surface area, and diminishing returns. This means you must decide how much money you will spend to get the most out of this application. Dynamat is the best option if you have a limited budget. It is unquestionably the best. This is why Dynamat is often referred to as Dynamatting your vehicle. Dynamat is as sound-deadening to Xerox as Xerox was to copy papers. Noico sheets were the best option for me as my budget is limited. My thought was to spend twice as much money on the Noico sheets and get twice the yield. The product will produce a higher output than the cheaper products with a smaller surface area. Although “a little Dynamat goes far” might be true, I believe “a lot more Noico will get you farther.”
Where can I place sound deadening/dynamic?
Many people mistakenly think of sound-deadening materials as a shield against outside noises. Instead, it should be viewed as a sound absorber that attaches itself to the surface to reduce vibrating. Imagine an empty can sitting on top of a table. Imagine flicking the can with your finger to see the toning that it makes. Imagine holding the can in your hand and giving it the same flick. It now emits a brief tink instead of the long, ringing sound it used to make. The same principle applies to sound deadening your vehicle. Your door’s outer body is made of carbon steel. It acts the same way as an empty can. The sound-deadening material consists of thick tar and aluminum. They operate in the same way as your hand around an empty can. Instead of covering up every space to block the noise, you should look for areas within your door’s frame and body where tonnes can be transformed into tinks. You can apply the material to or around it if you feel a low-pitched ringing in your metal. The door bodies of most luxury vehicles have a thin rubber coating to absorb road noise. However, this material degrades with time and hardens with heat and cold cycles until it is fully set. Your vehicle may have been around for five years. It has seen thousands of cold and hot processes. If this happens, you can assume that your factory sound absorber is no longer effective, if not completely useless.
The speaker housing should be obliterated. Next, remove the control unit (3 screws, top, side, and bottom) and let it hang. Next, remove the metal tape strip from the foam liner at the top. Then remove the foam liner itself. The foam piece will be reapplied, so don’t damage it. The factory sealant string should be removed. All four doors should now be exposed to the elements. You may see a few cubby-shaped pieces of plastic on titanium trims. These are there to seal the seam. However, they have probably hardened and no longer serve any purpose. You should remove them if you still have them. They will be replaced with more substantial material.
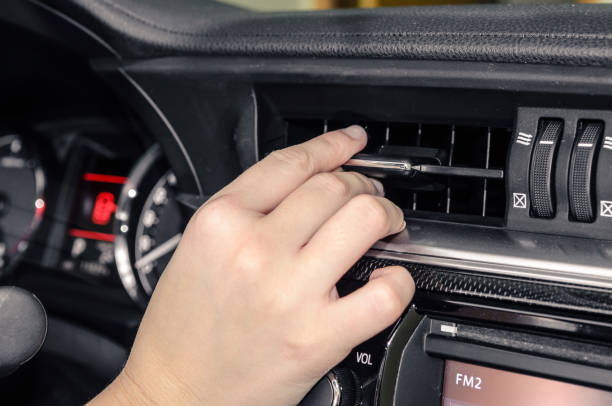
Next, clean your doors with a solvent. The Dynamat’s tar must be placed on a clean surface to ensure a tight seal. See the below images to see where your sound-deadening material will be applied.
Since it is the first line of defense against road noise, we will concentrate on the door body (the part that lies behind the frame). Start by placing your dynamic on a flat surface and then cutting it to cover as much area as possible (red dashed lines). Once you are satisfied with your dynamite, cut it into smaller pieces that fit better through the holes in your door frame (pink dashed bars).
Once you have cut the pieces, place them on the inner panel and press the roller into the material. Many sound deadeners come with ridges that let you know when you are done rolling. This is an example:
Once you have dynamited the door bodies, move on to the frame. To find areas that are toning, tap your fingers against the metal. Then you can aggressively apply the material to those spots using the same method as in the video; if you find sharp edges that the rolling tool cannot reach, use a tennis ball. Here is a heatmap showing where I heard the most ringing.
The last step is to plug the holes in your door frame permanently. This step is important because anyone who needs to fix the track, window, or wire loom will need to cut through the dynamic. These are the holes that we will be plugging in. Blue is an option; green is the preferred color.
Optionally, you can cut the concaves from the black foam insert we removed earlier. The holes in which these concaves used to be resting are being closed up. Place overlapping strips of automotive repair tape in the gaps to give the material a surface to stick to.